Products You May Like
A button pops off your shirt an hour before a meeting. The hem on your trousers drops and you step on it all day. A seam splits under the arm of your favorite sport coat.
Most men handle this one of two ways. They shove the garment to the back of the closet, or they pay a tailor for a five-minute fix. There’s a better option. Learn a few basic stitches and you’ll handle the small stuff yourself — and you’ll know exactly when a job needs a professional.
In this guide, I’ll give you the sewing tips for men that cover most everyday repairs, the one rule I use to decide DIY vs. tailor, and how to find a tailor you can trust with everything else. Let’s get into it.

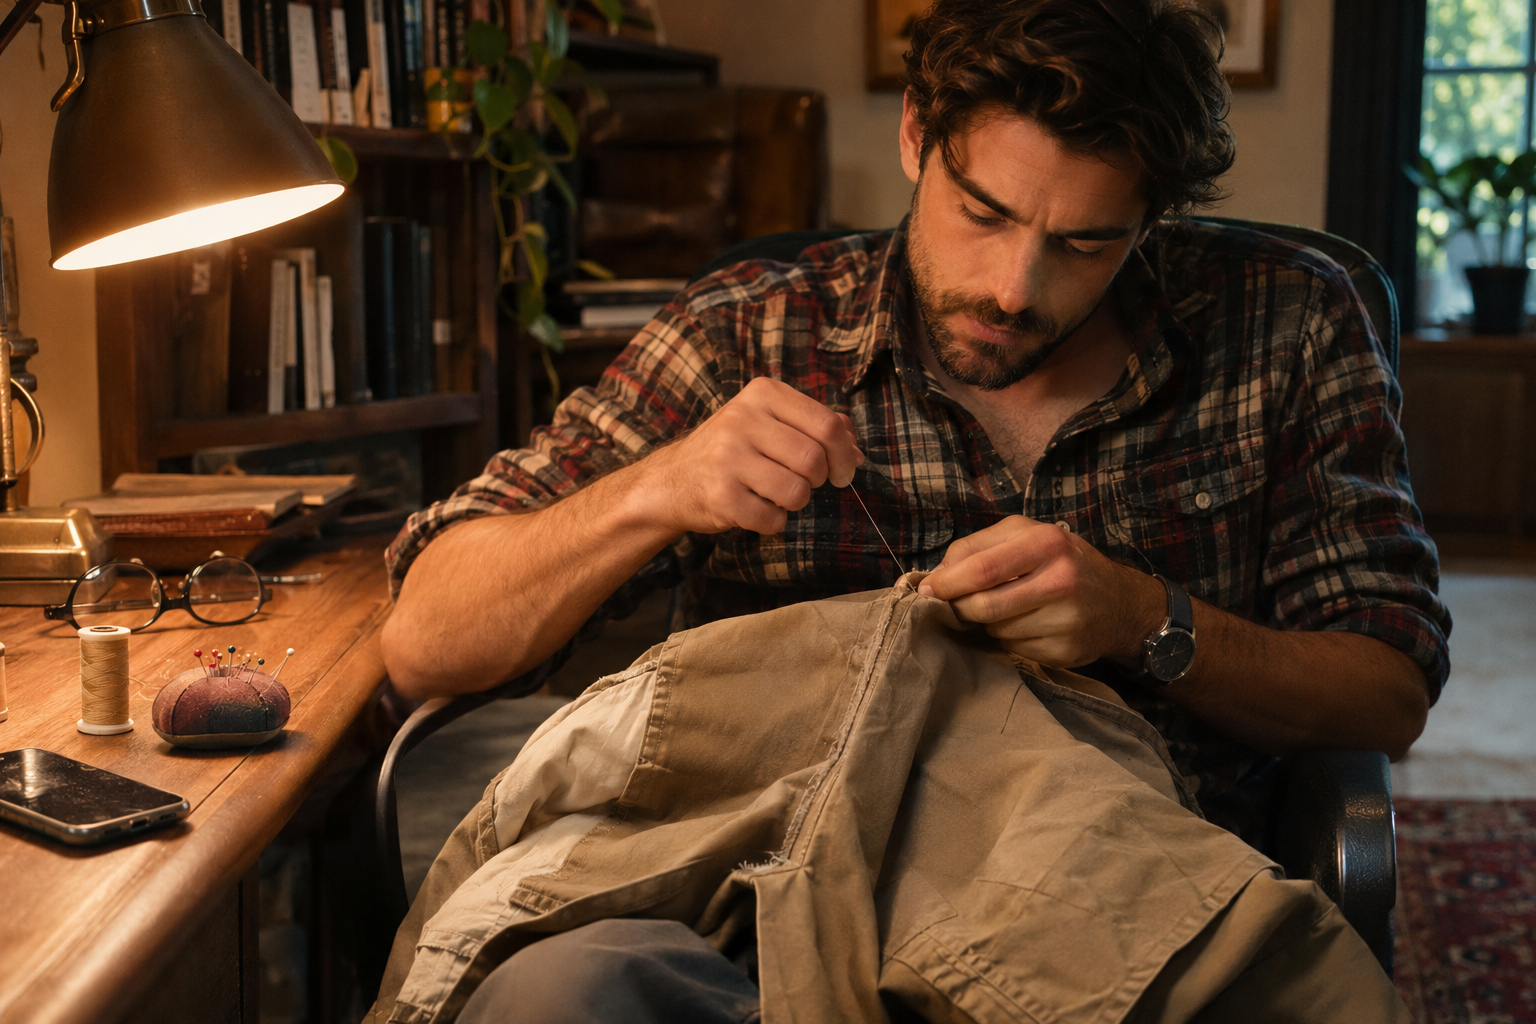
A resourceful gentleman should learn his way around a needle and thread. That way, these minor problems can be fixed before they require a professional tailor’s help. I have taught dozens of male friends how to use a simple thread and needle and make a few quick mends and most learn fairly easily.
Most of these guys do not want to ditch a perfectly good shirt because of one unsightly rip or missing button. Yet until they learned the basics, they wouldn’t touch it themselves.
Some guys think sewing is somebody else’s job — the tailor’s, the dry cleaner’s, whoever’s handy at home. Here’s the deal: a man who can sew on a button and close a split seam saves money, saves good clothes from the donation pile, and never walks around with a frayed shoulder seam because he didn’t know how to fix it. Save the tailor for the work that actually needs one.
5 Sewing Repairs Every Man Can Do Himself
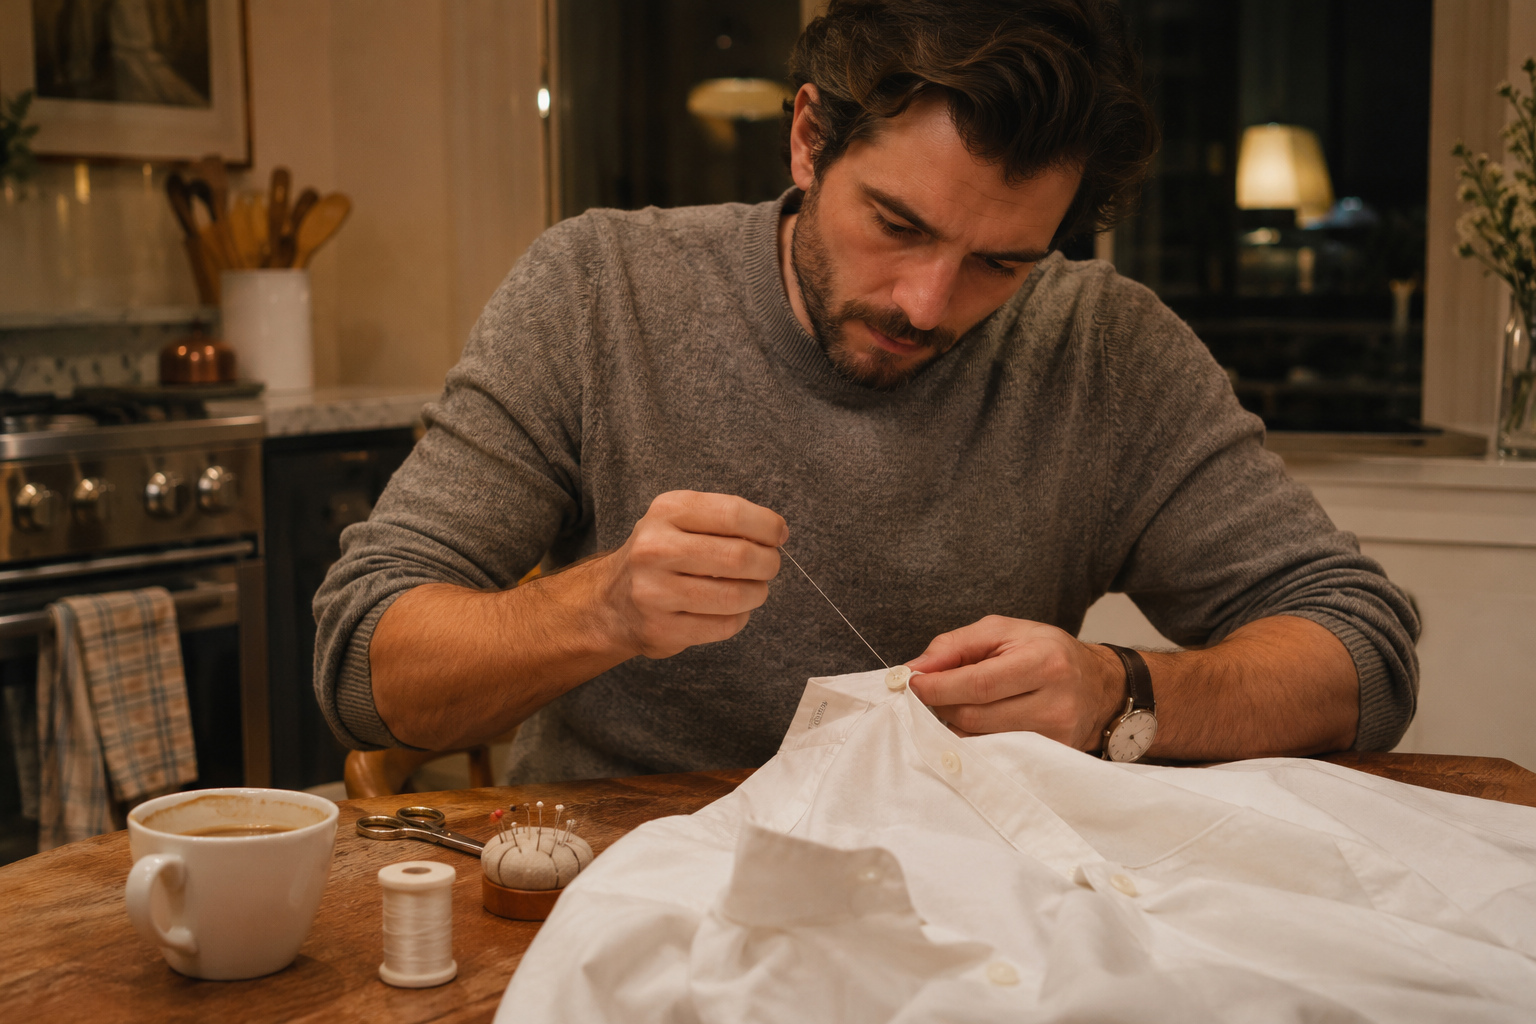
You don’t need a sewing machine for any of these. You need a few hand-sewing needles, all-purpose polyester thread in black, white, navy, and gray, a small pair of sharp scissors, and a handful of straight pins. Match the thread to the garment — when in doubt, go one shade darker. Darker thread disappears into the fabric; lighter thread shows.
The Two Stitches That Handle Almost Everything
The backstitch is the strongest stitch you can make by hand, and it’s the one you’ll use on seams. Push the needle up through the fabric, take a short stitch backward (about 1/8 inch), then come back up 1/8 inch ahead of where your thread last came out. Repeat. Each stitch overlaps the one before it, so from the outside it looks a lot like machine stitching.
The slip stitch (also called a blind hem stitch) is for hems. Catch just one or two threads of the outer fabric with the tip of the needle, then slide the needle about 1/4 inch through the fold of the hem and come out. Repeat. Done right, you can barely see it from the outside — which is the whole point on a pair of dress trousers.
Two habits make every repair last: use a doubled thread about the length of your arm, and finish with a knot on the inside of the garment, never the outside.
1. Sew On A Button
The most common repair, and the easiest. Line the button up with the old thread marks, then make four to six passes through each pair of holes. On a coat or a thick jacket, lay a toothpick across the top of the button while you sew — it leaves slack so the button sits off the fabric. Pull the toothpick, wrap the thread a few times around the stitches under the button to form a shank, and knot it on the back. I walk through every step with photos in my guide on how to sew on a button by hand.
2. Close A Split Seam
A seam that’s come open along its stitching is a five-minute fix. Turn the garment inside out. Start your backstitch about half an inch before the break, in the stitching that’s still holding, and follow the original seam line until you’re half an inch past the break. Knot it off inside. This works on shirt side seams, jacket linings, and the seat of your trousers — for that last one, double your thread, because the seat takes more stress than any other seam you own.
3. Fix A Dropped Hem
When a trouser hem comes loose, there’s usually a crease showing exactly where it belongs. Pin it back on that crease, slip stitch it all the way around, and give it a light press with the iron. In a pinch — say, at a hotel before a wedding — a safety pin or two on the inside will hold it until you can sew it properly. Jeans are a different animal because of the heavy denim; I cover that in how to hem jeans at home.
4. Mend A Small Tear
Where the tear is matters more than how big it is. A tear along a seam is just a split seam — backstitch it. A small tear in the middle of the fabric on casual clothes (jeans, chinos, a work shirt) can be fixed with an iron-on patch on the inside, then a few stitches around the edge so it doesn’t peel. On a suit or wool trousers, don’t try it. That needs reweaving, which is a tailor’s job — more on that below.
5. Reattach A Belt Loop, Hook, Or Snap
Trouser hooks and belt loops take a beating, and they usually fail because the original stitching wore through. For a hook-and-bar, make four to six tight stitches through each hole with doubled thread, catching the waistband but not the outer fabric. For a belt loop, tack the top and bottom with several stitches through all the layers. Five minutes, and a pair of trousers you’d have stopped wearing is back in rotation.
Evaluating Your Wardrobe
Three Simple Rules
Be prepared to make some hard decisions on your own. Your wardrobe says something about your individual experience. Because you’ve been there every step of the way, only you know what articles are worth the space in your closet and which aren’t. If you have some shirts or jackets that have had a good run and show some wear, decide if they can stay or go.
If they need repair, set aside time in your schedule to get them fixed or fix them yourself. You want your closet to be a pool of only your best even if it only has five shirts or up to fifty. By all means, keep the sentimental shirts in your collection, but maintain them if you plan to wear them for years to come.
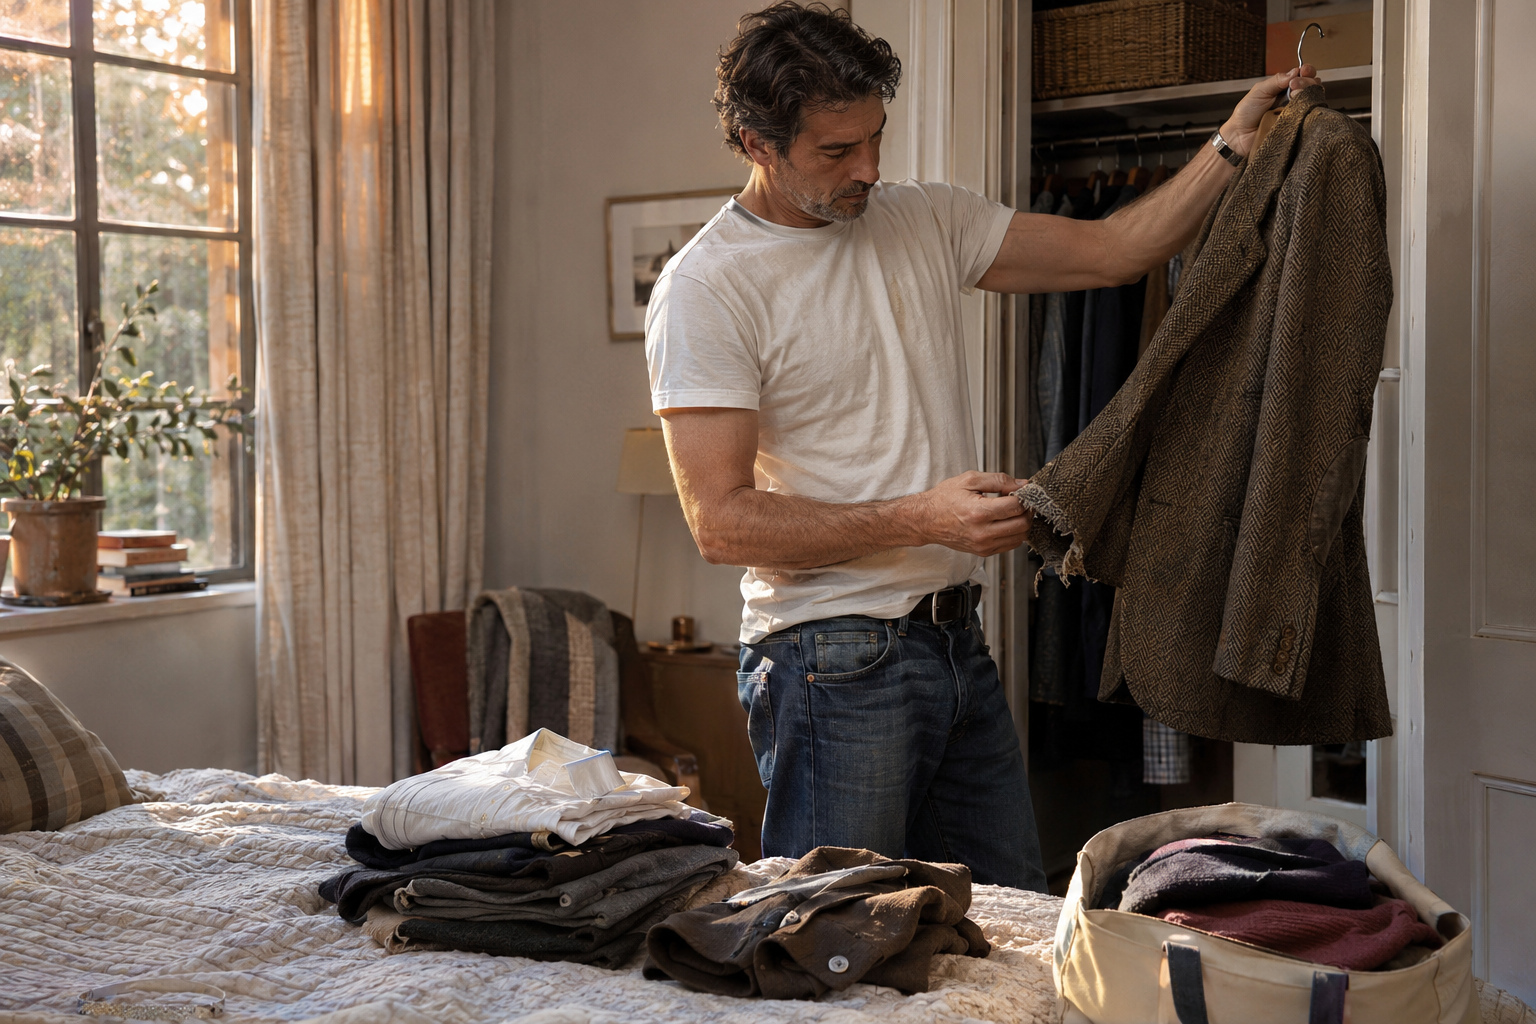
Know your limits. Alterations can save you money, but they can only do so much with the article in question. Knowing what can be done and what can not may end up saving you quite a bit of time and money. Is your closet full of inherited or secondhand suits that are too big in the shoulders really worth the effort? Is it worth grabbing that last VBC blazer on sale that’s just a tad too tight in the torso? What about the sports jacket that’s two inches too long?
Not only will understanding alterations help you make wiser purchases, such knowledge will extend the life of your clothing. A tailor can get you back into those pants that have become a bit too snug and save the jacket that’s developed a small tear, but he can not miraculously redesign an entirely ill-fitting suit. That leads us to the next point.
Be selective. Donate or somehow eliminate those clothes that are irredeemable due to wear, fashionably obsolete, or not worth the complete overhaul in professional refitting. In a sense, eliminating clutter in your wardrobe is making alterations. The time it takes debating with yourself into wearing that pinstripe ’80s Armani is better spent selecting from timeless pieces that not only fit you today, but are in good repair.
Alterations
Truly anything in your wardrobe will look better on you when it actually fits. (Still, great fit doesn’t trump color, material and condition.)
Sleeve length, excess blousing around the torso, and too much or too little room in the seat of the pants can all be adjusted to a degree. It is likely that you can salvage many of the ill-fitting garments in your wardrobe by simply having them altered to fit. You could do this one of two ways.

The first is finding that shirt or pair of pants in your collection that fits best. Have the tailor or seamstress match your larger shirts to this pattern. Otherwise, be prepared to take some time out of your day to get fitted properly before putting one or all of your items under the chopping block.
However, there are some hazards to avoid before making the decision to alter your garments. The cost of making all the needed alterations to a garment may very well exceed what you paid for it. This is due in part to the lack of skilled seamstresses and tailors out there. Perhaps the suit was a steal when you purchased it and realizing its need for alteration can be considered a sunken cost. Remember to use your judgment.
You don’t want to set aside time and get all the way to the tailors only to realize your suit can not be fixed or adjusted past a certain point. A jacket that is two inches too short often cannot be lengthened because of either the lack of fabric and/or the structural build of the garment does not allow it.
Now there are always exceptions — I’ve worked with some amazing tailors who have worked miracles — but the average sewing professional is limited in their comfort zone.
Make peace with the fact that no matter what the result there is no “going back”. This is why finding the best tailor is so crucial. No tailor is going to admit they are a bad threader. Instead, you may learn the hard way through using their services.
Some will make promises they can not keep, miss deadlines trying to figure out how to solve your problem, not field your specific questions with the appropriate response, or ruining your shirt altogether. It pays to ask around, read Google and Yelp reviews, and test a new tailor with a small job — a trouser hem — before you hand over your best suit.
How To Find A Good Tailor: The 3 Ingredients Of A Successful Alteration
To that end, finding the best tailor for the job is a process on its own. Here are steps on how to get your attire in good hands. There are three variables that make any clothing alteration successful. A well-done alteration has everything to do with the skill level of the person doing the work, whether or not the garment has the fabric for the alteration, and finally how the alteration will affect the garment’s proportions.
A Skilled Tailor or Seamstress
The term “tailor” has become nearly stripped of its true meaning since the wash-and-wear culture became standard practice in the last fifty years.
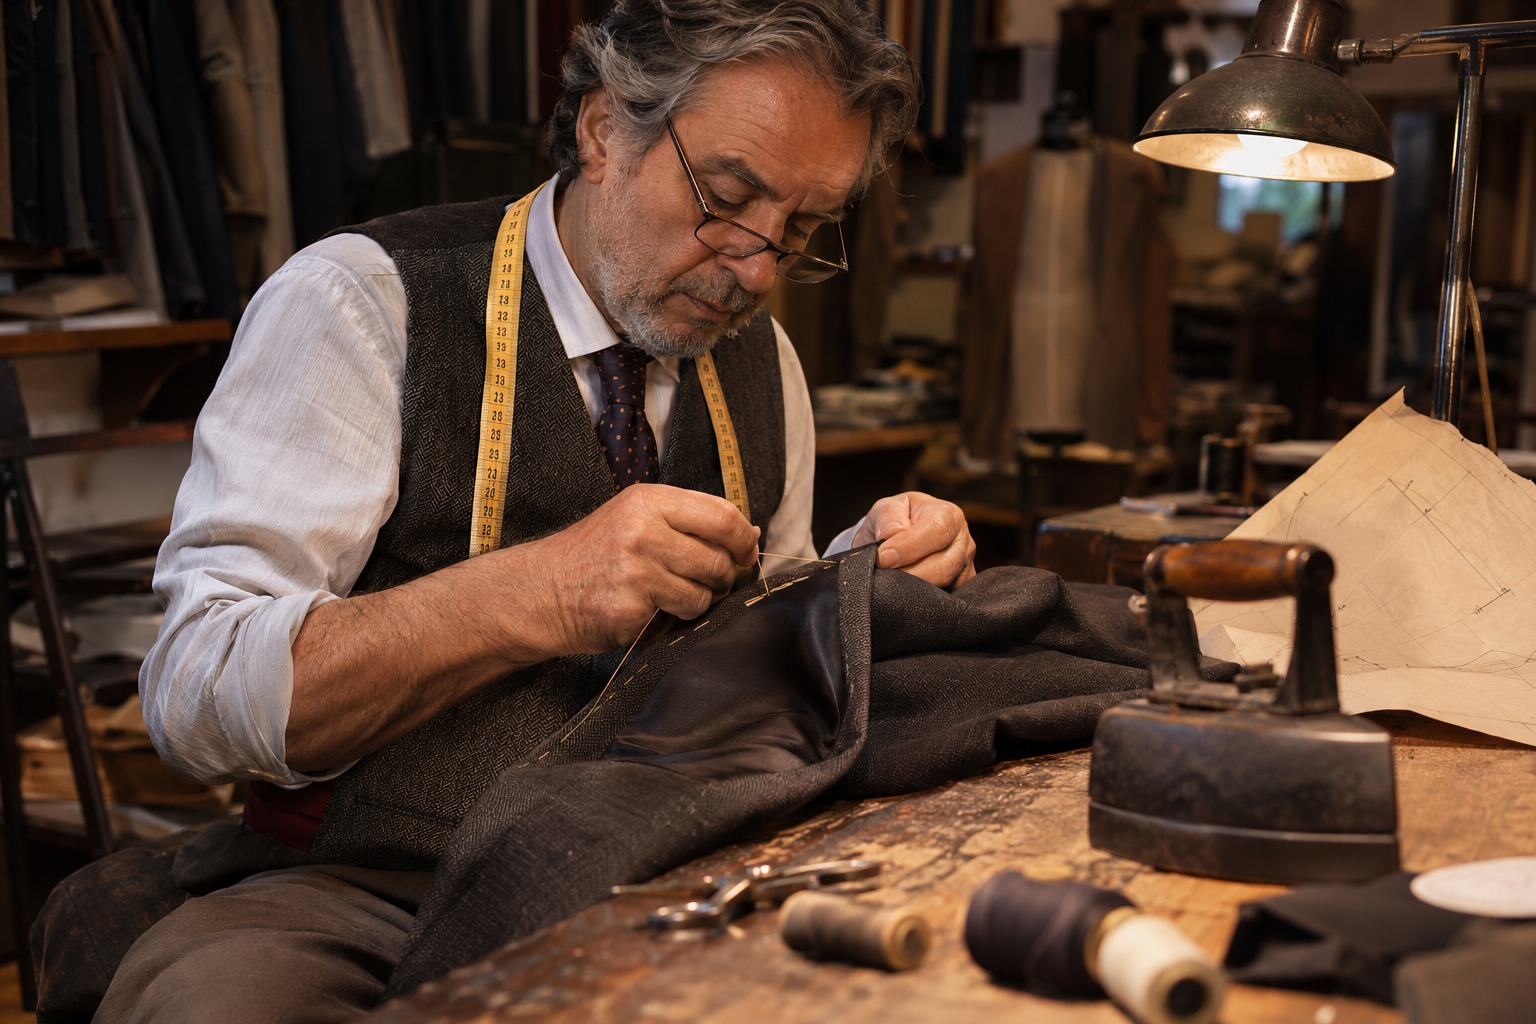
Tailoring refers to a set of specific hand- and machine sewing and pressing techniques that are unique to the construction of traditional suits. Most tailors today do not cater to only suits because the industry has evolved with more modern demands.
Because the industry has taken a less-specialized form, experience does not always equate to skill. This means you must take a more assertive, exacting approach when you walk into the shop.
Leave no light shining between your request and their task. If the tailor measures up to your request and you’ve received quality work, you’ve found a quality tailor that is increasingly hard to find. Here are seven steps on how to find that tailor.
- Educate yourself. Understand what you want by reading up on the basics so you can ask thoughtful questions. Don’t be afraid to ask the necessary detailed questions and raise objections when you think someone is blowing smoke.
- Seek recommendations. Like I mentioned above, take the recommendations of friends and family, but with a grain of salt. Your needs won’t match theirs exactly, because tailoring is individual work. However, recommendations are a great place to start and may alert you to information otherwise not available.
- Test their communication skills. Communication is key to getting exactly what you want. By now, you can effectively communicate what you want and the tailor should match that when repeating your order. When you visit, they must give you a reasonable amount of time to discuss your needs. This is a big investment, do not feel rushed or pressured if you can help it.
- Ask the tailor for their personal best. Yes, this could seem demanding, but now is not a time to be shy. A tailor should be satisfied only when the client is happy. If the client isn’t satisfied with the garment, the tailor should either work to meet expectations or refund his money. We have seen many cases of men pushed into styles and fits that weren’t his original design. A tailor should offer guidance, but how a man looks is his decision alone.
- Does the tailor or seamstress understand style? This shouldn’t be a deal-breaker, but without it you’ll have to be more explicit as to what you want. Don’t assume the person working on the clothing can make the “leap” between points not specified. A trained tailor should point out errors/problems with your requests if they break common style or pattern aesthetics.
- Examine their handiwork. Look not only at the outside, but at the inside stitching and seam work. Crosscheck their work with another piece of sturdy tailoring or detailed pictures of tailored stitch work as it should be done. Details make all the difference in looking your best.
- Availability. You want a professional that is accessible. When you find out a week before your wedding you’re a little too large for your once well-fitting suit, you want someone who can help you in a pinch.
A good local tailor runs on a simple business model: good work speaks for itself. Be wary of gimmicks and deals that sound too good to be true.

Garment Allowance
If the fabric isn’t there, there is little even a skilled tailor can do to help you. Whether it involves extending a sleeve or opening up a pair of trousers, if there isn’t excess fabric, your tailor’s hands are tied. Make sure when you buy a garment and expect to have it enlarged, there is at least three-quarters of an inch to an inch and a quarter of excess fabric along the seams.
This is standard on most new clothing, but when buying from thrift stores or receiving something custom use caution. For an athletic build, a good bespoke tailor will make the suit with as much extra fabric as possible without “bulking up” the seams. This enables them to open up their jacket’s chest three inches without having to buy a new coat.
Limits of Proportion
Even if you have the first two variables covered, you may still be limited in a good alteration depending on proportion. A gentleman south of five foot five will find that his tailor can shorten his jacket by two inches, but he cannot reposition the pockets.
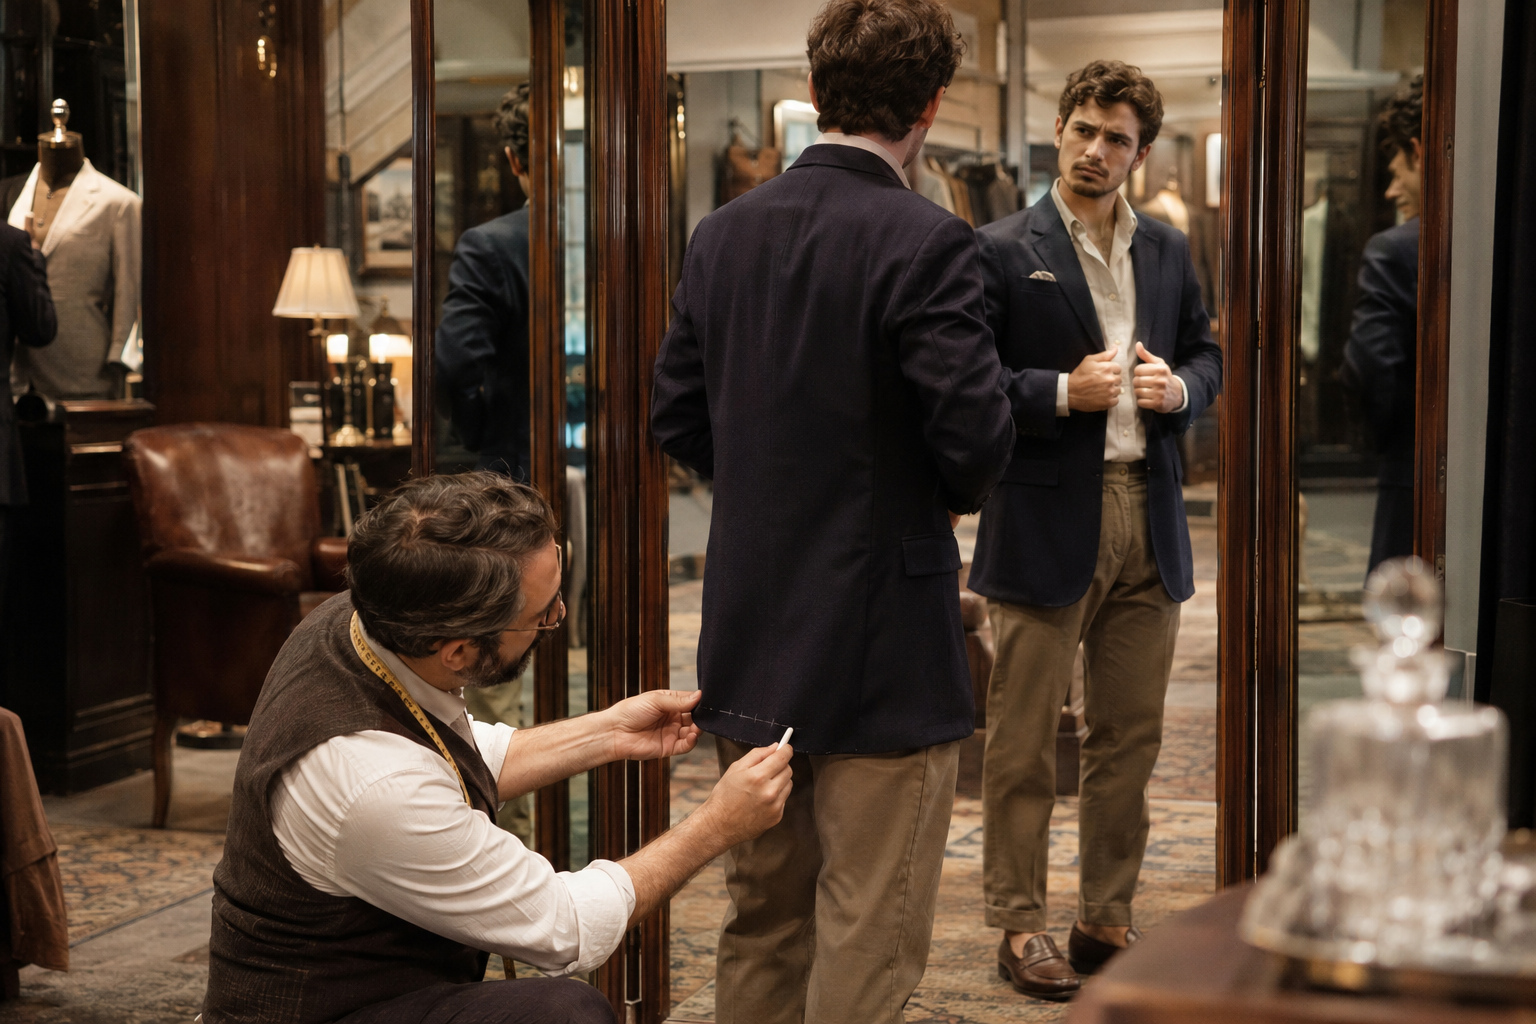
Proportion can affect the thin gentleman as well. Bringing in the trousers or jacket by more than two inches often moves the pockets to a point where the clothing loses its conventional design.
Common Alterations & Skill Level
DIY Or Tailor? The One-Seam Rule
Here’s the rule I give guys who ask me whether to do a repair themselves: if the fix follows a seam that’s already there and doesn’t change how the garment looks, do it yourself. If it changes the shape of the garment, it goes to a tailor.
Sewing a button back on, closing a split seam, re-hemming trousers at their original length — none of that changes the shape of anything. You’re putting the garment back the way it was. Taking in a shirt, tapering trousers, or shortening a lined jacket sleeve is different. You’re changing the shape of the clothing, and one wrong cut can’t be undone. That’s what you pay a tailor for.
The table below sorts the most common jobs by skill level. For what each one costs, see my seamstress price guide for men’s clothing alterations.
DIY or Tailor? Men’s Alterations by Skill Level
What you can fix yourself, what needs a pro, and what to replace
Costs vary by city and by tailor. See the RMRS Seamstress Price Guide for typical prices.
Basic Skill Alterations
These problems don’t cost much to fix. You can do these yourself — the five repairs at the top of this guide cover most of them.
- Button & zipper replacement
- Trouser leg length
- Jacket sleeve length (non-working buttons & unlined)
Medium Skill Alterations
The cost is a little more expensive than the above, but always worth the price if this is what you need to make your garment fit.
- Jacket sleeve length (non-working buttons & lined)
- Fixing neck roll
- Bringing in or opening up the torso on a jacket
- Bringing in or opening up a pair of trousers
- Taper trouser legs
- Shortening a shirt sleeve
- Replacing a shirt collar
- Adding darts
- Tapering the shirt
High Skill Alterations
These alterations are expensive, so make sure you have found your trusted tailor before having this done.
- Jacket sleeve length (working buttons & lined)
- Jacket length
- Rotating the jacket sleeve (correcting for arm pitch)
- Relining the jacket
- Reducing shirt shoulders
- Re-weaving – fixes small holes by using fabric found elsewhere on the suit to create an invisible patch; limited to small holes only.
Expert Alterations
These alterations are very expensive, so you may want to look at a new suit in some cases. Unless you live in a large city, you will have to ship your garment to a trained tailor.
- Anything adjusting the shoulders – this is very touchy as the tailor is changing the whole “look” of the garment. It’s very possible that he’ll get it to fit better, but it may no longer look right.
- Changing the posture of a jacket – this involves adjusting the way the front and back of the jacket are connected, oftentimes needed if a man stands overly erect or slouched over.
Irreparable
It’s generally accepted that tailors cannot solve these major problems. It’s time to find a new suit in these scenarios.
- Long fabric tears that do not follow the seam
- Holes larger than one and a half inches in circumference
- Heavy abrasion damage or threadbare
- Severe weakening of the fibers caused by alkaline or acid exposure
- Burned fabric (As a result of ironing)
Build Your Skills & Your Emergency Sewing Kit
Learn to Sew Yourself
Want to do alterations yourself? Interested in learning how to make your own clothing? Want a skill whose demand is only set to increase as the great tailors of yesteryear retire and few are set to fill their shoes? Well, we openly encourage you to join us.
For further reading, pick up David Page Coffin’s books — Shirtmaking and Making Trousers for Men & Women. He teaches the basics clearly and goes as deep as making your own shirts and trousers. If you learn better in person, plenty of fabric stores and community makerspaces run beginner sewing classes. One evening is enough to get the five repairs above down.
Emergency Sewing Kit
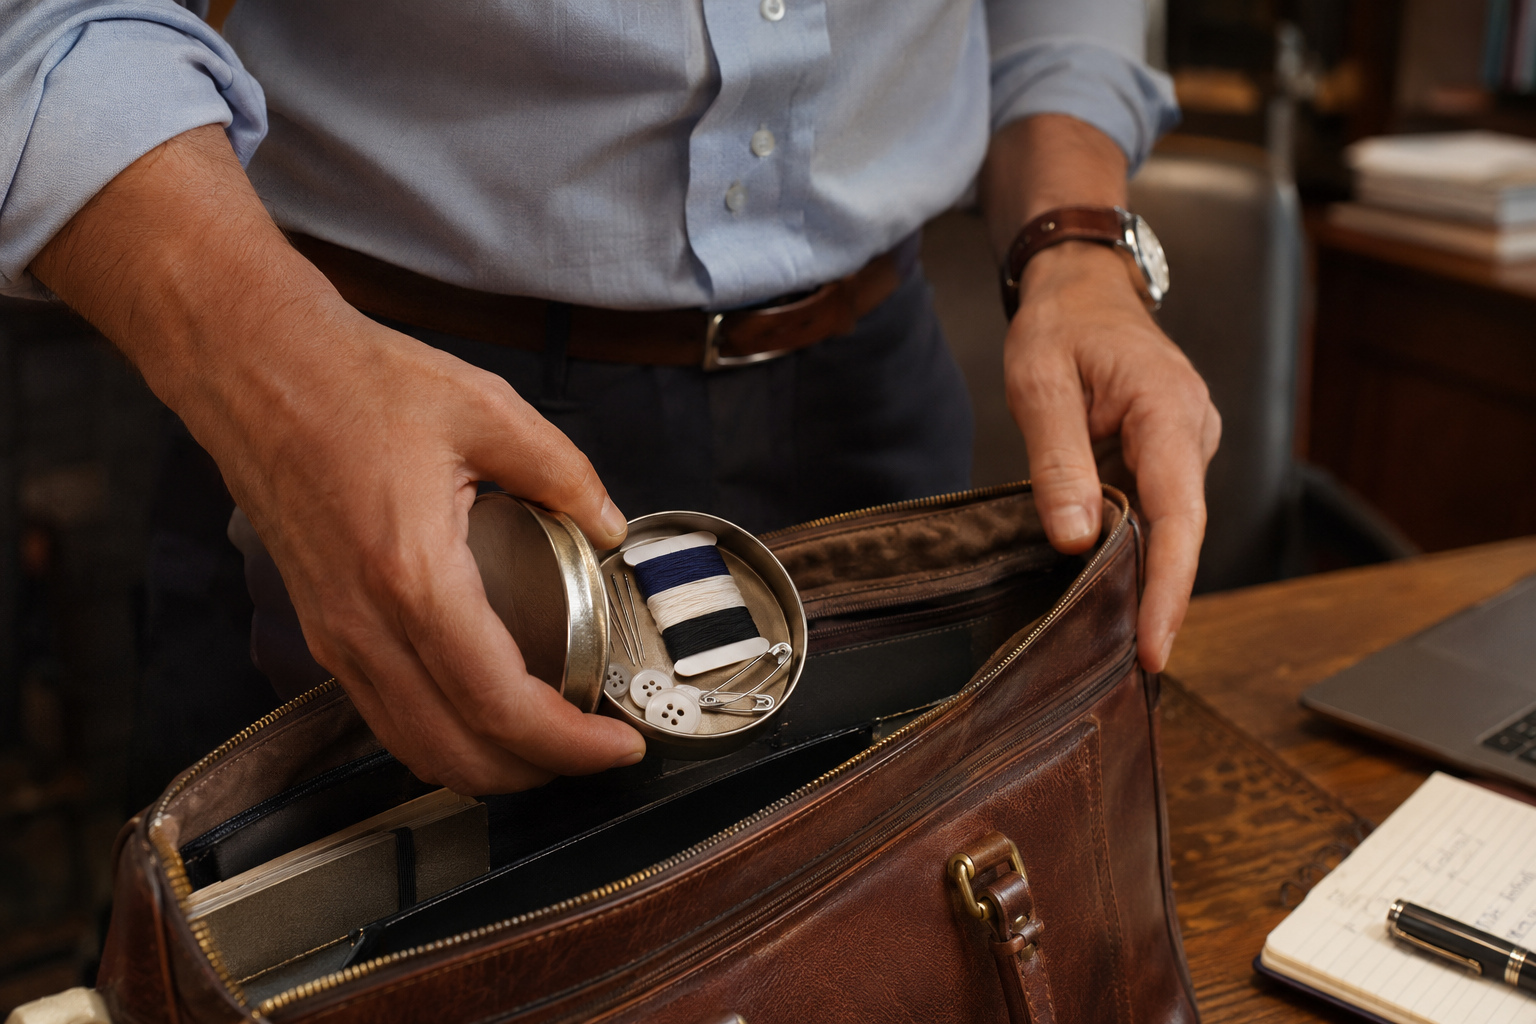
Some of the greatest examples of Murphy’s Law happens to clothing. You or a colleague is going to need a needle and thread at the worst time possible.
This is where it pays to be prepared. Stores sell prepackaged kits, but I avoid these as they are chintzy and overpriced. They often contain a pair of worthless scissors, a threading tool and more thread than you need.
Instead, pack your own kit — a few needles of various sizes, two feet each of black, white, and navy thread, a few spare buttons (keep the extras that come sewn inside new shirts and jackets), and two safety pins. Put it in a small tin and keep it somewhere you’ll actually remember: your briefcase, your gym bag, or your desk drawer at work.
Men’s Clothing Alterations & Sewing FAQ
Can I alter my own clothes?
Yes — for basic work. Buttons, split seams, dropped hems, and small tears on casual clothes are all well within reach with a needle and thread. Anything that changes the shape of the garment, like taking in a shirt or tapering trousers, is better left to a tailor until you’ve had real practice.
What’s the difference between a tailor and a seamstress?
Today the words overlap. Traditionally, a tailor builds and alters structured clothing — suits, jackets, trousers — using hand-sewing and pressing techniques, while a seamstress or alterations specialist handles hems, take-ins, and repairs. For a trouser hem, either will do. For anything on a jacket, ask whether they’ve actually built jackets.
What alterations can’t a tailor fix?
Shoulders that are too wide or too narrow, a jacket that’s too short, holes larger than about an inch and a half, burns, and long tears that don’t follow a seam. If a garment has one of these problems, replace it. That’s why you buy a jacket that fits in the shoulders and let the tailor handle the rest.
How much do men’s clothing alterations cost?
Expect around $20 to hem a pair of trousers, $25 to $35 to shorten or lengthen simple jacket sleeves, and $25 to $35 to take in a dress shirt. Jackets with working buttonholes, shoulder work, and anything in a big city cost more. My men’s clothing alterations price guide breaks it down garment by garment.